
A PTO shaft that is performing correctly is silent, smooth, and invisible. You connect it, engage the PTO, and forget about it. When something goes wrong, however, the symptoms are usually unmistakable — vibration that travels through the tractor seat, a clicking that appears under load, a shaft that refuses to telescope, or an overload clutch that trips every few minutes during normal mowing.
Each symptom points to a specific cause, and each cause has a defined fix. This guide works through the eight most common PTO shaft problems in agricultural and utility equipment, covering the root cause of each, how to confirm the diagnosis, whether to repair or replace, and what to change in your maintenance routine to prevent recurrence.
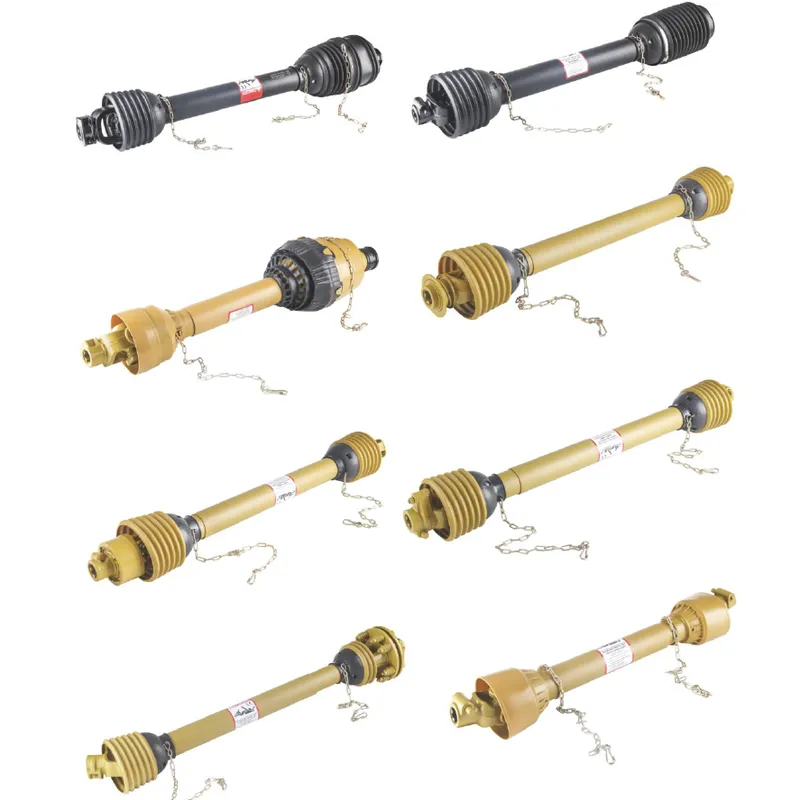
Knowing which component is responsible for which symptom is the starting point for accurate diagnosis
Problem 1: Vibration During Operation
What it feels like: A rhythmic shaking that increases with PTO speed. May be felt through the tractor seat, the three-point hitch, or the implement frame. Sometimes accompanied by a low-frequency hum from the driveline.
Most likely causes
- U-joint bearing wear — lateral play in one or both joints
- U-joint phasing error — yokes at wrong angle after reassembly
- Bent shaft tube — from a previous overload or ground strike
- Operating angle exceeding joint rating (standard joints: 15° max)
- Imbalanced implement (worn or missing blade on rotary cutter)
How to diagnose
- PTO off, shaft stationary: grip each side of each joint and rock — any movement confirms bearing wear
- Sight along tube length for straightness
- Measure operating angle with implement at working height
- Confirm yoke ears are co-planar at both ends
Fix: Worn U-joint bearings — replace the cross kit. A bent tube requires full shaft replacement; straightening bent PTO tubes is not safe. Phasing errors are corrected by disassembling the telescopic section and rotating one tube 90 degrees relative to the other before reassembly. If the operating angle exceeds 15 degrees, upgrade to a wide-angle joint PTO shaft rated for the required range.
Prevent recurrence: Grease U-joints every 8–10 hours. Never force the telescopic section to extend beyond two-thirds of its travel range during normal operation.
Problem 2: Clicking or Knocking Sound Under Load
What it feels like: A repetitive metallic click or knock that appears when the PTO is engaged under load but disappears at idle or when the load is removed. May be accompanied by a slight jerk in the driveline with each click.
Most likely causes
- U-joint needle roller bearing flat spots from dry operation
- Worn yoke pin holes — elongated bores allowing pin movement
- Loose locking pin that allows the yoke to shift slightly on the PTO stub
- Worn tractor PTO output bearing — wobble transmits into shaft
How to diagnose
- Rock the shaft joints by hand — clicks may be felt as well as heard
- Inspect yoke pin bore for oval wear with a caliper
- With shaft disconnected, check PTO stub for wobble by rocking by hand
Fix: Replace cross kit if bearings have flat spots. If yoke pin bores are worn oval, the yoke itself must be replaced — operating with an elongated pin bore will fracture the yoke ear at the stress riser. Worn tractor PTO bearings require a tractor workshop repair before any new shaft is installed.
Problem 3: Shaft Disconnects from the PTO Stub
What it feels like: The tractor-side yoke pulls free during operation, often with a sudden loss of drive and a loud impact as the spinning shaft contacts the ground or implement frame.
Most likely causes
- Locking pin spring weakened — pin no longer sits fully in the stub groove
- PTO stub locking groove worn round — pin has no positive seat
- Yoke not pushed to full engagement depth before operating
- Wrong yoke style for the stub — push-pin yoke on a stub that requires a bolt-lock
How to diagnose
- Connect the yoke to the stub and tug firmly — it should not release without pressing the pin
- Inspect the stub groove with a flashlight — a worn groove has rounded edges instead of a sharp shelf for the pin to seat against
Fix: Replace the locking pin and spring assembly — a standard service part for all push-pin yokes. If the stub groove is worn, do not attempt to operate any shaft on that stub until the stub is replaced. A shaft that disconnects at operating speed is a safety hazard.
Problem 4: Telescopic Section Stiff, Binding, or Jammed
What it feels like: The inner and outer tubes are difficult to slide even when the shaft is disconnected from both ends. In severe cases, the telescopic section is completely locked and cannot be moved at all.
Most likely causes
- Grease dried out and combined with debris to form abrasive paste in profile channels
- Profile tube surfaces galled from dry operation — metal-on-metal scoring
- Tubes seized after impact bending — shaft was compressed beyond minimum length
- Corrosion from outdoor storage without adequate greasing before winter
How to diagnose
- Separate tubes and inspect profile surfaces — light surface contamination cleans up; deep scoring marks mean the surfaces are galled beyond recovery
- Check for bending by sighting along the tube length
Fix: Separate tubes completely. Soak in penetrating oil if corroded. Clean with solvent and a stiff brush. Light galling on the profile ridges can be dressed with a fine file, then polished smooth before re-greasing. Deep galling requires tube replacement. Pack the profiles with fresh grease before reassembly and test the sliding action by hand before reconnecting to equipment.
Prevent recurrence: Re-grease the telescopic section every 20–50 hours. Before any long storage period, separate the tubes, clean, re-grease, and reassemble.
Problem 5: Overload Clutch Slipping During Normal Operation
What it feels like: The implement suddenly loses drive even though no obstacle was struck. The slip clutch is releasing under normal mowing or tillage load rather than only under true overload conditions.
Most likely causes
- Spring tension adjusted too low — clutch slips below working torque
- Friction plates contaminated with oil or grease from over-lubrication of adjacent components
- Friction plates worn thin — no longer generating sufficient clamping force at rated spring tension
- Incorrect slip clutch for the HP of the implement
How to diagnose
- Tighten the spring adjustment nut by half a turn and test — if slipping stops, tension was simply too low
- If maximum tension still slips, disassemble the clutch pack and inspect discs for oil contamination or wear
Fix: Increase spring tension incrementally. If contaminated, clean friction plates with brake cleaner and allow to fully dry before reassembly — do not use oil-based solvents. Worn plates below minimum thickness need replacement. Contaminated plates that do not fully recover after cleaning also need replacement — glazed friction surfaces will never provide reliable engagement. Disc replacement kits are inexpensive and restore full clutch performance.
Problem 6: Overheating at the Universal Joints
What it feels like: The U-joint area is hot to the touch after operation — significantly hotter than the shaft tubes. May be accompanied by burning grease smell or discoloration of the bearing cup seals.
Most likely causes
- Insufficient grease — needle rollers running dry or with degraded lubricant
- Grease channel blocked inside the cross arm from old contaminated grease
- Operating angle too steep — joints working beyond their rated angle continuously
- Leaking or slow-responding implement positioning cylinder allowing the implement to drag at incorrect angle
How to diagnose
- Pump grease — if fresh grease does not emerge from all four bearing seals, the channel is blocked
- Measure operating angle at working height
- Inspect the implement’s hydraulic positioning cylinders for leaks or slow response
Fix: If the grease channel is blocked, do not force grease through — this can blow out the bearing cup seals. Replace the cross kit immediately. A blocked channel indicates advanced internal corrosion that compromises the cross arm material. Verify and correct the operating angle. If a faulty hydraulic positioning cylinder is allowing the implement to sit at an incorrect angle and increasing the PTO shaft operating angle, a leaking or failing double acting hydraulic cylinder on the implement control circuit should be inspected and replaced — this is a common but overlooked cause of accelerated PTO shaft joint wear.
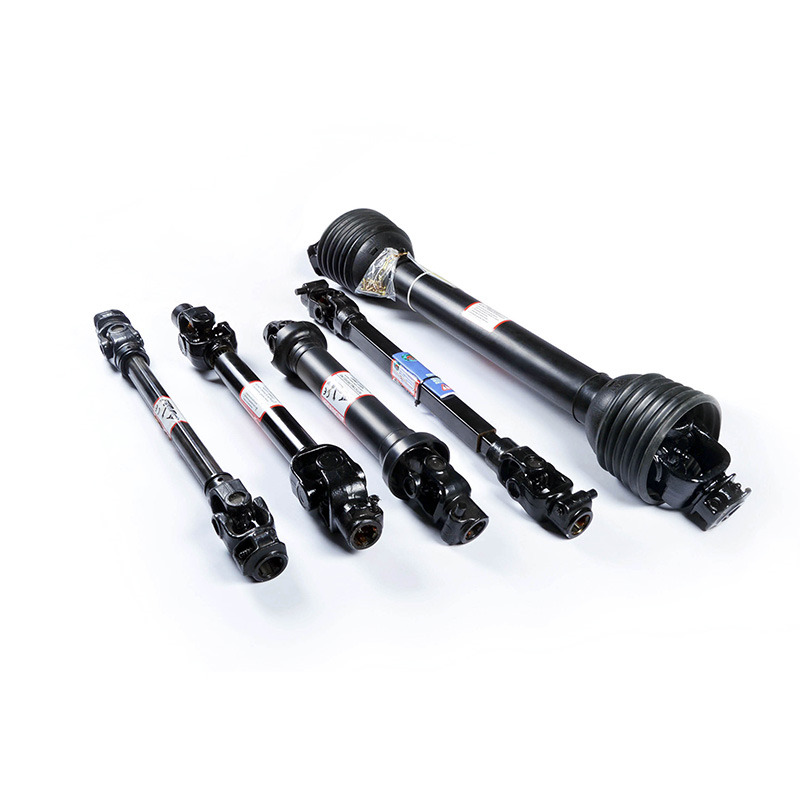
Regular inspection of U-joints and grease channel condition prevents overheating failures
Problem 7: Safety Shield Cracked, Broken, or Spinning with the Shaft
What it feels like: Visual inspection reveals a cracked or partially missing shield. Or the shield is rotating with the shaft instead of staying stationary — confirming that the shield bearings have seized.
Most likely causes
- Impact from thrown debris — rotary cutters are the worst offenders
- Shield bearing corrosion from outdoor storage without protection
- Shield dragging on the ground during tight turns or steep slopes
- UV degradation weakening plastic shield material over multiple seasons
Action required
- Do not operate with any missing or damaged shield segments — no exceptions
- A shield spinning with the shaft provides zero protection and is actively dangerous
- Replacement shields are available separately for most shaft series
Fix: Replace the damaged shield immediately. Shield replacement kits include the plastic guard halves, bearing set, and restraining chain clips. If the shield bearing has seized, the bearing can sometimes be replaced separately. If the shield halves are cracked or missing segments, the entire shield set needs replacement. Never improvise a substitute — a cloth or cardboard wrap provides no protection against entanglement.
Problem 8: Grease Leaking from Bearing Cup Seals
What it feels like: Fresh grease is visible around the bearing cup area of one or more U-joints after greasing, appearing at the seal lip rather than purging evenly from all four cups.
Most likely causes
- Over-pressurizing the grease fitting — pumping too fast or with too high-pressure grease gun
- Bearing cup seal lip worn or torn from age or debris damage
- Cross kit at end of service life — seals and bearings worn together
How to diagnose
- Inspect seal lips visually with a flashlight — a torn seal lip is visible as a flap or gap at the cup edge
- If grease only leaks on one of the four cups while greasing, that specific cup seal is damaged
Fix: A leaking seal will eventually allow moisture in and grease out — replace the cross kit before the bearing progresses to metal-on-metal contact. When greasing, apply pressure slowly — fast pumping exceeds the seal’s pressure rating and blows the lip. Two to three slow strokes per fitting until grease just appears at the cup is the correct technique.
Repair or Replace? A Quick Decision Framework
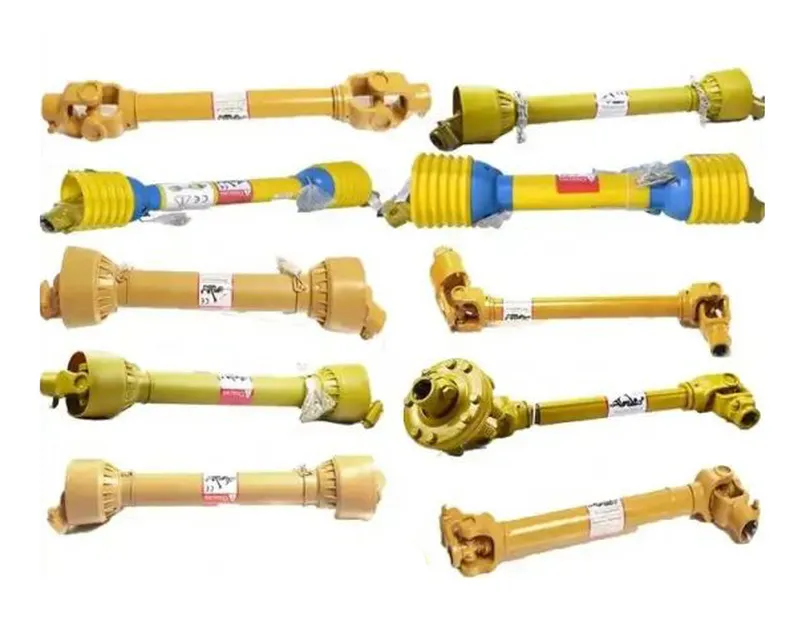
Replacement shaft types — when individual component repair is no longer cost-effective, a matched new assembly is the reliable choice
| Condition | Repair | Replace assembly |
|---|---|---|
| Single U-joint with play, tubes straight | ✓ Cross kit | — |
| Both joints worn, tubes still straight | ✓ Two cross kits | — |
| Bent or galled tube | — | ✓ Full shaft |
| Cracked yoke ear | — | ✓ Full shaft |
| Telescopic section light surface contamination | ✓ Clean + re-grease | — |
| Telescopic section deep galling | — | ✓ Full shaft |
| Slip clutch worn friction plates | ✓ Disc kit | — |
| Damaged safety shield | ✓ Shield kit | — |
| Multiple worn components across whole shaft | — | ✓ Full shaft |
A general rule: if parts cost for a repair reaches 50% or more of a new tractor PTO shaft assembly, replacement is the better investment. A new shaft provides matched components, fresh seals, correctly phased joints, and a complete safety shield — restoring full performance and safety in a single step.
The Maintenance Habits That Prevent Most Problems
Every 8–10 hours: Grease all U-joint fittings slowly until fresh grease appears at all four bearing cup seals. This single habit prevents Problems 1, 2, and 6 — the three most destructive failure modes.
Every 20–50 hours: Separate and re-grease the telescopic tubes. Prevents Problem 4 entirely when done consistently.
Before each season: Run through the full visual inspection — U-joint play, tube straightness, locking pin condition, shield integrity, and restraint chain attachment. Catch Problems 3, 7, and 8 before they become field failures.
After any major impact: Inspect joints for play immediately before the next use. A single high-energy overload event can initiate cross arm cracks that will fracture within the next few operating hours.
For parts availability, shaft replacement recommendations, or technical assistance identifying a problem not covered here, contact our team with the shaft specification and a description of the symptom. Supplying photos of the damaged component significantly speeds diagnosis.