
More PTO shafts are damaged during storage than during operation. This is not an exaggeration — the combination of residual moisture, temperature cycling, absent lubrication, and UV exposure that occurs during an off-season of outdoor storage does more cumulative damage to U-joint bearings, telescopic tube surfaces, and seal materials than a full season of field use on well-maintained equipment.
The good news is that all of this damage is preventable. A proper winterization routine takes under thirty minutes and requires only a grease gun, a cloth, and a dry sheltered storage location. Done correctly once at the end of the season, it prevents corrosion, seal degradation, and the seized telescopic sections that turn a five-minute shaft swap into a two-hour repair at the beginning of the next season.
This guide covers the complete off-season storage process: the end-of-season preparation steps, the storage conditions that matter and which ones do not, long-term protection options for extended storage, and the spring recommissioning checks that confirm everything is ready before the first PTO engagement.
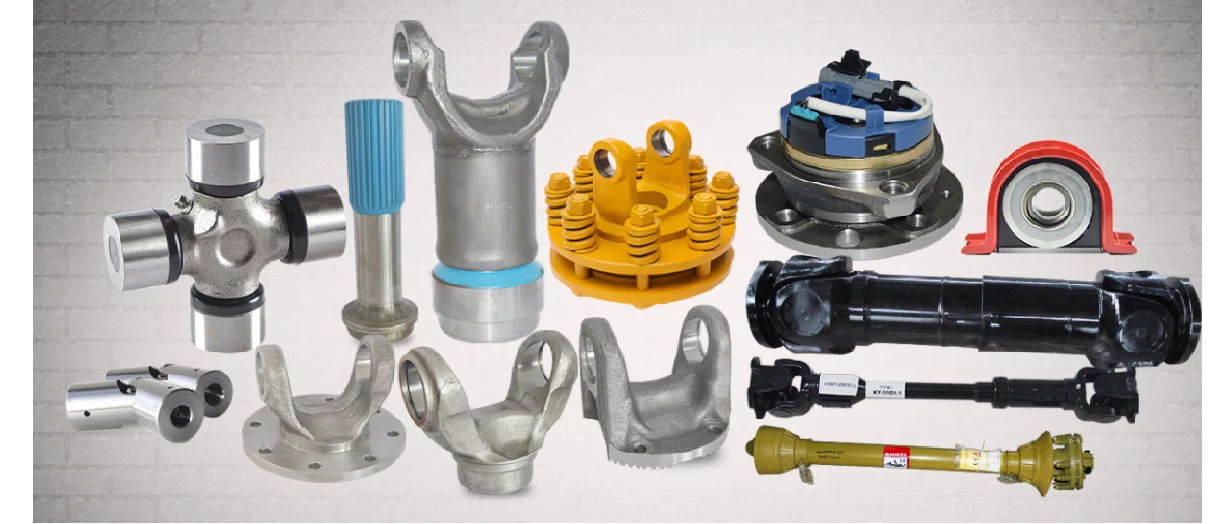
End-of-season inspection before storage — the right time to identify any wear that should be addressed before next spring
Why Off-Season Storage Is the Highest-Risk Period for PTO Shafts
During operation, the PTO shaft is continuously lubricated, any condensation is driven off by heat, and the moving components stay flexible from regular use. During storage, none of these protective mechanisms are active. Three specific damage processes accelerate during an idle season:
Bearing cup corrosion
U-joint bearing cups hold a small volume of grease that protects the needle rollers. When this grease oxidizes or absorbs moisture over winter, the protection breaks down. Rust forms on the rollers and cross arm journals. The first engagement of spring rotates a partly seized joint, scoring the bearing surfaces and initiating accelerated wear.
Telescopic tube galling
Old grease in the profile channels dries to a waxy residue over winter. Soil and chaff particles embedded in that residue act as abrasive paste when the shaft telescopes in spring. The first few extension-compression cycles grind microns off the profile surfaces, creating metal-to-metal drag that worsens through the season.
Seal hardening and cracking
Rubber seals on bearing cups and telescopic section end caps remain flexible during operation. Extended exposure to cold temperatures, UV radiation, and ozone (especially outdoors) causes the seal material to harden and lose elasticity. Hardened seals crack under the first deformation of spring use, allowing immediate moisture ingress.
End-of-Season Preparation: 7 Steps Before Storage
Carry out this routine on the day you last use the shaft, while the implement is still warm from operation and any contaminants on the shaft surfaces are still soft and easy to remove.
Clean the shaft while it is still warm
Disconnect the shaft from both ends and wipe down the full exterior — shield, yoke ears, tube surfaces, and U-joint areas — with a rag dampened with a light solvent or diesel. Remove caked soil, crop debris, and old grease from all external surfaces. Pay particular attention to the shield bearing areas where debris packs tightly. A clean shaft allows you to inspect every surface properly and ensures that dirt is not sealed in by the storage grease applied in the next step.
Inspect the shaft before storage — not after
End of season is the right time to identify wear, not spring. With the shaft clean and removed from the equipment, inspect every component: U-joint play (any movement means a cross kit replacement this winter), tube profile surfaces (check for galling or scoring), yoke pin holes (check for elongation), safety shield integrity (any cracks or missing segments), and locking pin spring tension (press and release — the spring should snap back firmly). Components that need replacement are best sourced and installed during the off-season when lead times and workshop availability are not urgent.
Fully grease all U-joint fittings
Apply fresh lithium EP2 grease to all U-joint fittings until a full bead of fresh grease is visible at all four bearing cup seals on each joint. This purges any degraded or moisture-contaminated grease from the bearing cavities and fills them with a protective barrier. Do not skip this step even if the shaft was recently greased — the final greasing before storage is specifically for corrosion protection, not just lubrication.
Clean and re-grease the telescopic section
Separate the inner and outer tubes completely. Wipe the profile surfaces clean with a dry cloth to remove old grease and any embedded particles. Apply a full, even film of fresh grease over the entire profile surface of both tubes — not just the tips, but the full sliding length. Reassemble the telescopic section and slide it through the full range of travel several times to distribute the grease evenly. This ensures the tubes will move freely when first extended in spring.
Apply a light anti-rust film to exposed metal
Spray a light film of anti-corrosion lubricant (WD-40, Fluid Film, Corrosion Block, or equivalent) over the chrome piston rod surfaces of the yoke splines, the exterior of the tube profile section between the shield sections, and any bare steel areas exposed by shield gaps. Do not spray directly onto the safety shield plastic — petroleum-based sprays can accelerate plastic degradation. Wipe off any excess that contacts the shield material.
Cap the yoke bores and splined stubs
Fit plastic end caps over both yoke bores and over any exposed splined stub sections to prevent moisture, insects, and debris from entering the yoke internals during storage. These caps cost almost nothing and prevent a common source of rust formation inside the yoke bore, which can transfer rust particles onto the tractor PTO stub at spring connection.
Store horizontally in a sheltered location
Place the shaft horizontally — not standing vertically — in a dry, sheltered location: a workshop, equipment shed, or barn with a roof. Horizontal storage prevents grease from migrating out of the lower U-joint bearing cups under gravity over the storage period. A vertical shaft will have the lower joint partially drained of grease by spring regardless of how well it was greased before storage.
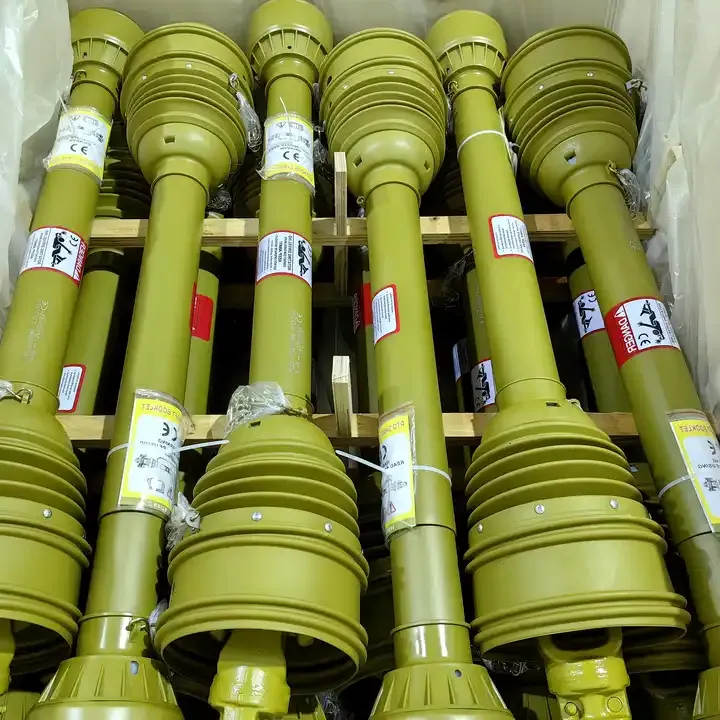
Horizontal storage in a dry location — the correct position to prevent grease migration from U-joint bearing cups during the off-season
Extended Storage: More Than One Season
If a PTO shaft will be stored for more than one year — a spare shaft held in inventory, a shaft for seasonal equipment used less than once per year, or a shaft stored while equipment is out of service — the standard end-of-season routine is not sufficient. Extended storage requires additional protection:
VCI (Vapor Corrosion Inhibitor) packaging
Wrap the full shaft in VCI film after the standard preparation steps. VCI film releases corrosion-inhibiting vapors that protect metal surfaces throughout the enclosed space. It is the standard anti-corrosion packaging used for export shipping of hydraulic and transmission components, and equally effective for extended warehouse or shed storage.
Mid-storage re-greasing
For storage beyond two years, re-grease U-joints annually even without operating the shaft. Grease oxidizes over time regardless of whether the joint is in use. An annual grease purge — pump until fresh grease appears at all four seals — refreshes the corrosion inhibitors in the lubricant and pushes any oxidized grease out of the bearing cavities.
Climate considerations
Temperature extremes accelerate both grease oxidation and seal degradation. Ideally store between 5°C and 30°C (40°F–86°F). In humid tropical climates, VCI protection is critical — ambient humidity alone causes rapid surface rust on unprotected steel within weeks. In extremely cold climates, grease consistency changes but does not lose its protective properties.
Spring Recommissioning: 5 Checks Before First Use
Even with perfect winter storage, a brief inspection before the first engagement of the season confirms the shaft is ready for work. This is also the moment to check the equipment the shaft connects to — the gearbox, the tractor PTO output, and the implement’s hydraulic positioning system — since all of these experience the same storage conditions.
U-joint play check: Rock each joint by hand. Any play that was not present at end-of-season storage indicates corrosion damage occurred despite preparation. Replace the cross kit before the first use.
Telescopic section movement: Extend and compress the shaft manually through its full travel range. It should move smoothly with light hand pressure. Any stiffness indicates dried grease residue — clean and re-grease before installation.
Safety shield rotation: Spin the shield by hand — it should rotate freely on its bearings while the shaft is stationary. A shield that resists rotation has seized bearings and must be replaced before use.
Grease before first engagement: Even if the shaft was greased before storage, apply a fresh pump to all U-joint fittings before the first use of spring. Winter temperature changes cause grease to migrate slightly within bearing cavities.
Check connected components simultaneously: Inspect the implement gearbox oil level for moisture contamination (milky appearance means water has entered). Test hydraulic cylinder seals for leaks — temperature cycling during winter storage is a common trigger for seal failure. For implements using single acting cylinders for lift and positioning, confirm these extend and retract properly under load before committing to field work. A cylinder that drifts down under load increases the PTO shaft operating angle and accelerates U-joint wear through the entire season. If the operating angle is borderline, also consider whether a wide-angle PTO shaft would be more appropriate for your equipment geometry.
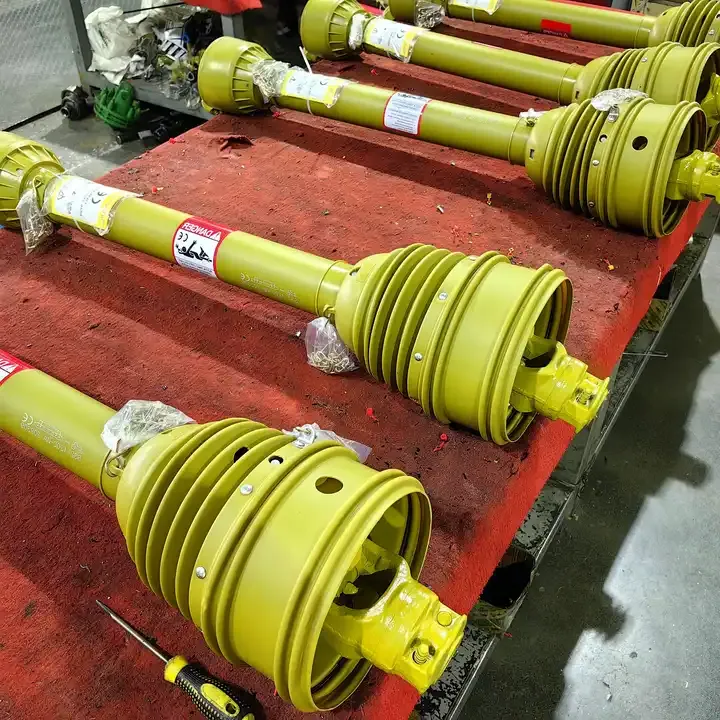
A shaft in ready-to-use condition — clean, greased, with intact shield and functional overload protection
End-of-Season Storage Checklist
| Task | When | Time |
|---|---|---|
| Clean full exterior — shaft, shield, yokes | Last use day, warm | 5 min |
| Full component inspection — joints, tubes, yokes, shield | After cleaning | 5 min |
| Grease all U-joint fittings until fresh grease purges | After inspection | 5 min |
| Separate, clean, and re-grease telescopic section | After greasing joints | 10 min |
| Apply anti-rust film to exposed metal surfaces | After tube reassembly | 2 min |
| Cap yoke bores | Before storage | 1 min |
| Store horizontally in dry, sheltered location | Final step | 2 min |
| Total end-of-season preparation time | Under 30 minutes |
For replacement parts needed before storage — cross kits, shield sets, yoke assemblies, or complete shaft replacements — browse our tractor PTO shaft range for available series and configurations, or contact our team with your shaft specification for a matched recommendation.